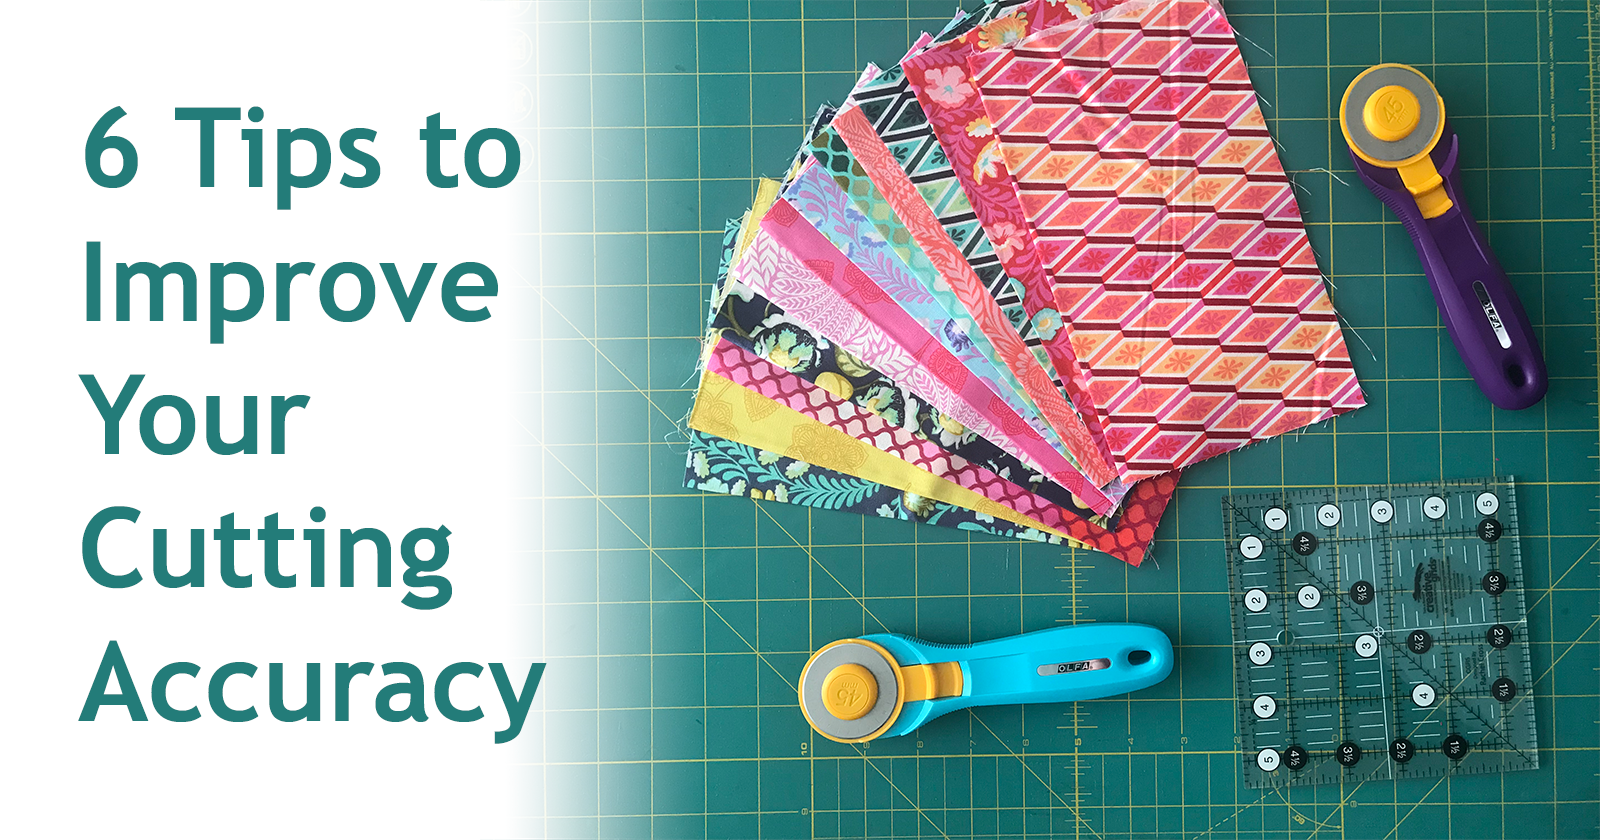
One of the most common problems that happens with quilts is inaccurate measurements and cutting. This keeps the seams from lining up exactly and results in crooked lines and uneven angles, which take away from the integrity of the quilt’s design. It can also cause problems in the quilting process, leaving tucks and folds in the fabric. Here are 6 tips to improve your cutting accuracy, so that your quilts will come out looking prim and precise. Three of the tips are for selecting your notions, and the other three are for the process of actually cutting your fabric.
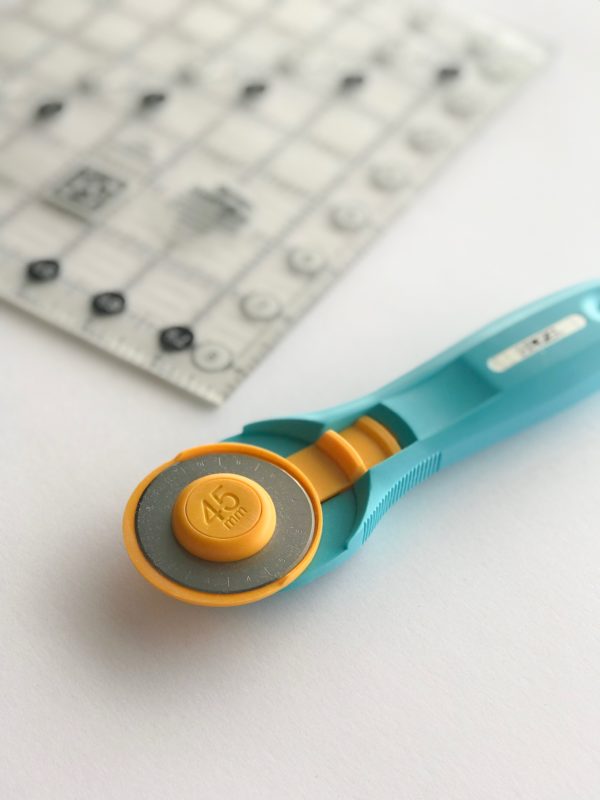
- Get a great rotary cutter. This will ensure that your cutter doesn’t “skip” as you make your cuts. I am particularly fond of the Splash rotary cutters. (I am guilty of owning three, with the fourth on its way. Have you seen the new pink ones?!) Anyway, I love the Splash rotary cutters because of the comfortable grip and ease of changing a dull blade for a fresh one, which will make a huge difference in your cutting. Olfa rotary cutters are also worth considering.
- Get a great cutting mat. This will protect the surface of whatever you’re cutting on and ensure you don’t end up with cutting lines in your kitchen table or on your antique sewing desk! In addition to their rotary cutters, I’m also a fan of Olfa cutting mats. I have 2 different sizes that I love—the 23” x 35” and the 23” x 17”. One I use for big projects on my cutting table at home, the other for sewing classes and retreats, since it’s smaller and more portable. I like the green color because it contrasts with most of my fabric and allows me to see it better. It is a self-healing mat, and, if taken care of, will last for years!
- Get a great ruler. My favorite quilting rulers are from Creative Grids. I love the clearly visible lines because they make it so much easier to cut accurately. They also have little grippy circles that keep the ruler from sliding as you’re making a cut. They have a huge selection of sizes to choose from, which makes it easy to find the perfect ruler for any project. I know some people get thrown off because of the 1/2” on one side of some of their rulers, but I find the difference between the white and the black numbers make it slick for cutting in half or full-inch increments.
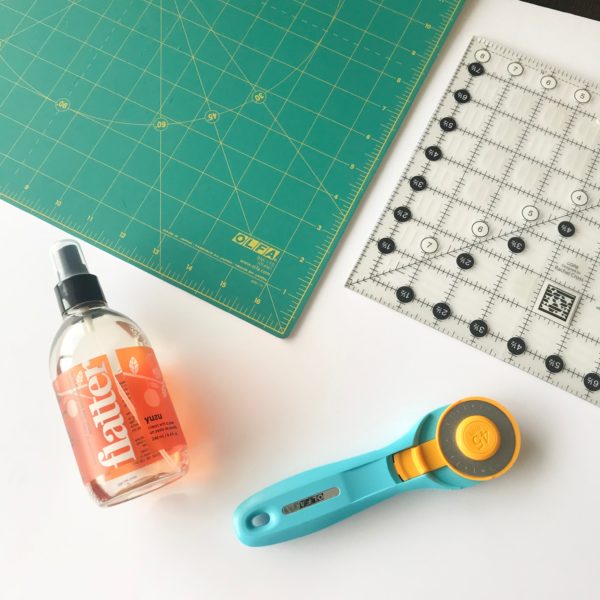
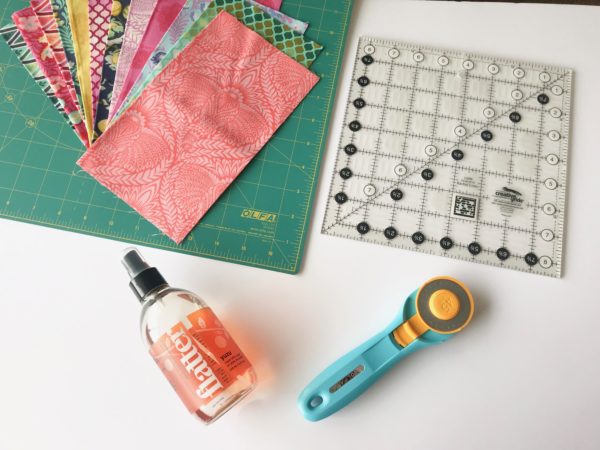
- Press your fabric before beginning any cutting. Pressing and adding a little flatter spray (link to soak) will reduce wrinkles, which can cause cuts to end up crooked. With all the quilts that come through my home, it’s very easy to tell which ones have been pressed and which ones haven’t.
- Measure from your ruler not from the mat. I learned this tip while working for Annie from ByAnnie.com. It was so hard to get used to at first, but it has immensely improved the accuracy of my cutting. I have found that rulers are much more precise than cutting mats. This realization has led to a rather large addition of quilting rulers of every size to my list of quilting supplies! If you have a few typical sizes like 8.5” x 24.5” and 12.5” x 12.5,” you can put two rulers together when you need to cut an especially large piece.
- Measure twice, cut once. It never ever hurts to double-check the dimensions before you cut. Once you’ve started rolling the rotary-cutter, you can’t un-roll it, so make absolutely certain that your measurements precisely match your pattern.
I like that you said that is important to find get a good cutter that doesn’t skip as you make your cuts. Personally, I have seen some cutters that are really hard to use because they shake too much. I’m going to share this with my friend so that when he buys a new cutter he can get a better idea to buy a better one.