The bright blossoms and blooming buds of springtime always feel so refreshing and invigorating to me. They remind me of new beginnings, of starting over with a clean slate. I’ve gained a new appreciation for this feeling since I’ve moved to Utah County, where there’s actually snow (I’m originally from Saint George, Utah, where there’s rarely ever snow)! The snow melts, and green grass and colorful blossoms take its place. As I ponder the newness and purity of spring, I am reminded of something else that’s pure and clean—babies!

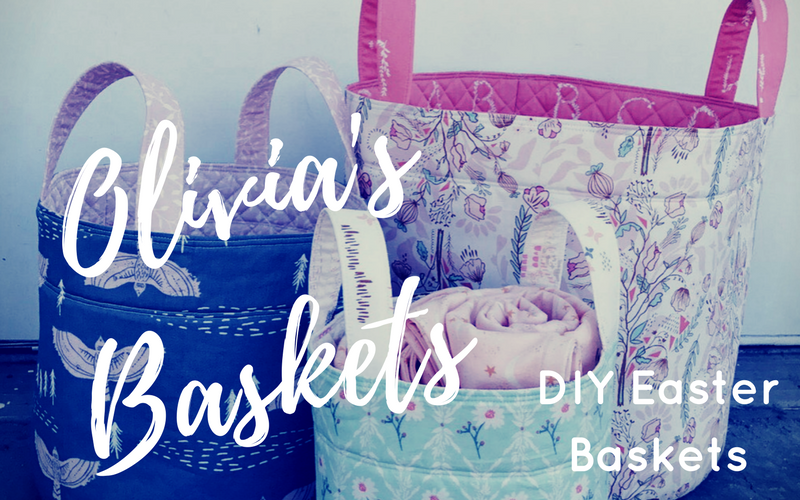
I’ve mentioned in previous posts that my pattern—Olivia’s Baskets—is named after my second niece (the pattern for my first niece Truvy will be in the works later this year). For me, these baskets represent the freshness and stillness of a new baby and a dewy Spring morning. When I designed this pattern, I wanted to create something that was useful and simple to make. For all of these reasons, Olivia’s Baskets make the perfect DIY Easter baskets!
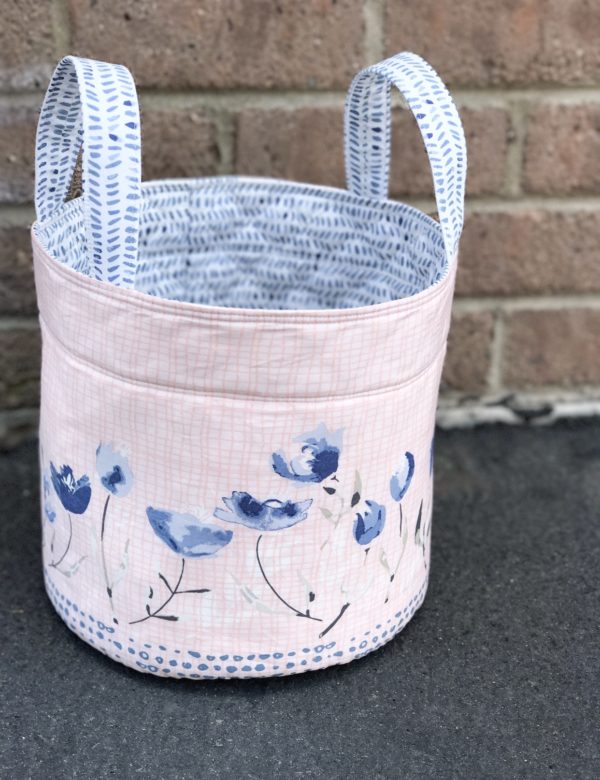
One of my favorite parts of these baskets is the interior. The inside is quilted so that the lining isn’t loose and floppy. The quilting keeps the interior fabric flush against the walls of the basket so that you get maximum space out of it. I also made sure to include instructions of how to bind the inside so that it’s polished and completely finished. For that reason, the baskets are also reversible! The unquilted exterior makes these baskets perfect for paneled fabric or a print that you wouldn’t want to quilt lines over. To top them off (pun intended), the fold-over top creates a fun contrast with the interior and exterior fabrics.
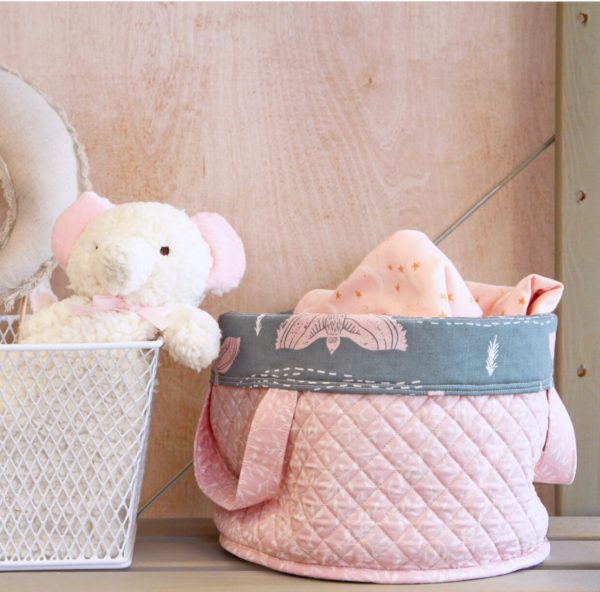
When I designed these baskets, I purposely chose Soft and Stable as the stabilizer. It really holds its shape well, but it’s also easy to sew with. It’s also soft enough that it won’t hurt babies! The pattern contains instructions for three different sizes – small, medium, and large. The circumferences of each of these sizes, respectfully, are 7 in., 9 in., and 12 in. The medium-sized basket would be the perfect size for an Easter basket and will fit all kinds of goodies inside.
Make Easter special this year and create some DIY Easter baskets for someone you love. You can buy my pattern here, and you can buy your Soft and Stable here with my affiliate link
XOXO
– Kait
Hi Kaitlyn!
I’ve really enjoyed reading your email!
Your baskets are absolutely beautiful! Especially the one with your niece sitting in it!! How precious is that!!
I thought about your idea of making those baskets for Easter!! I really like that idea a lot!
What line of fabric is the one with your niece sitting in it? It’s so beautiful!!
I’m going to make one for my youngest granddaughter for Easter! She will love that!
Then like you’ve mentioned all the other ideas of what you can do with them after!
Thank you for sharing these great ideas! And! I love your pattern! It’s very well written & easy to follow!
Have a wonderful day!
Melaine,
Thank you so much! I’m so grateful we captured Olivia in that basket when she fit in it! The fabric line of the basket my niece is sitting in is called Cherry Mint by ClothWorks. I got mine from Quilted Works. https://www.quiltedworks.com/collections/cherry-mint here is link to what they have left of the line. I hope you enjoy making your baskets! Thanks for being here!
xoxo