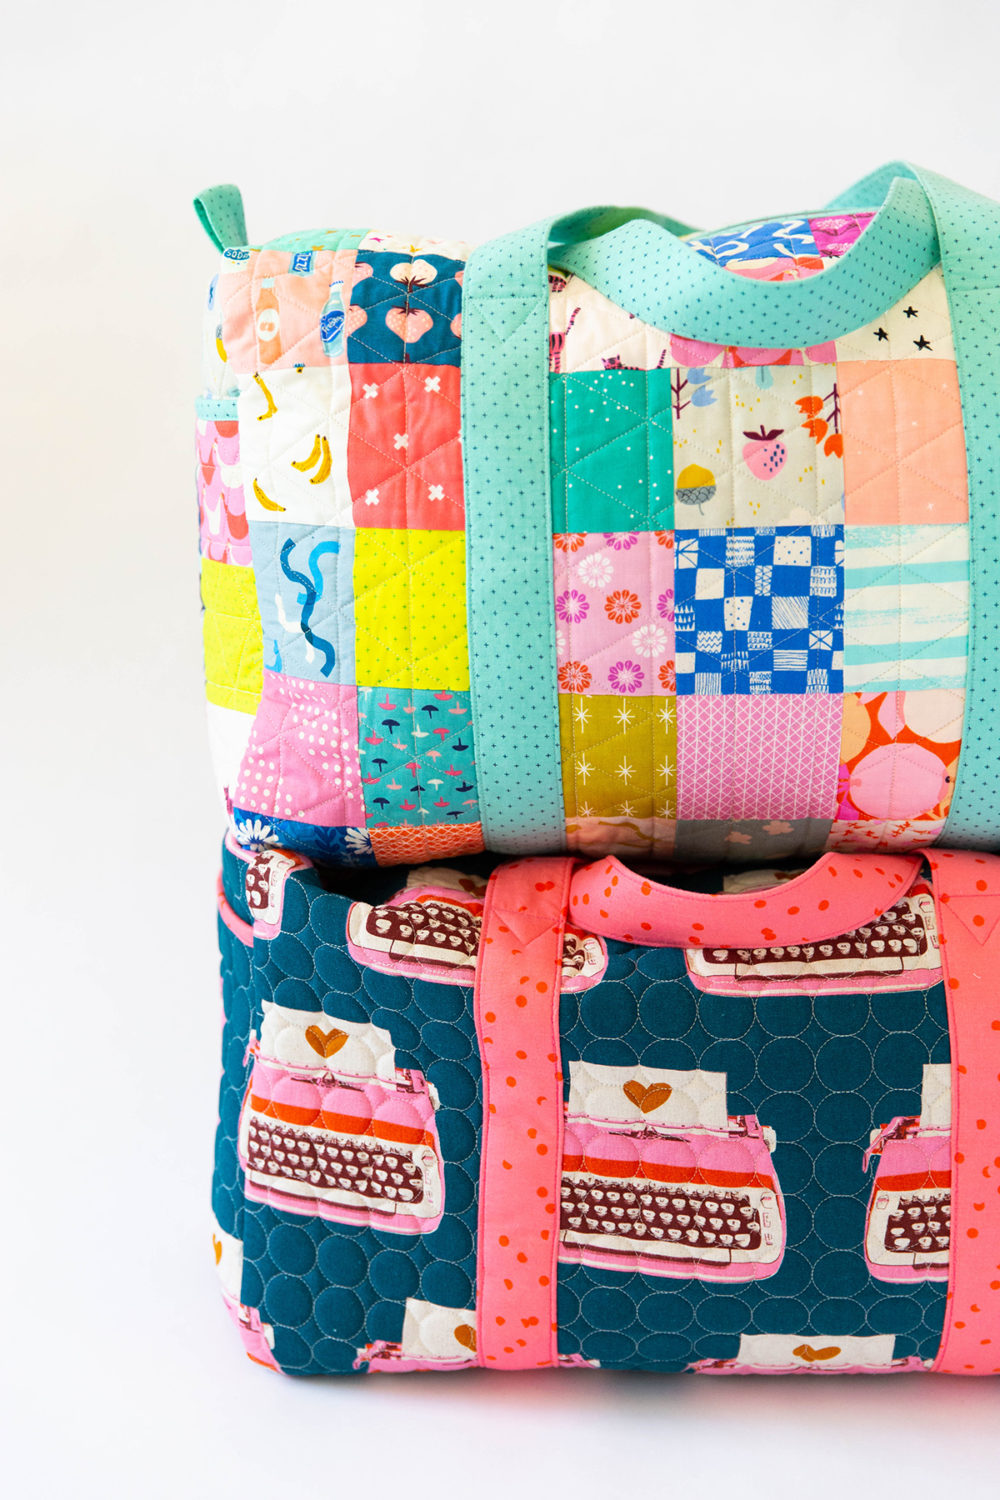
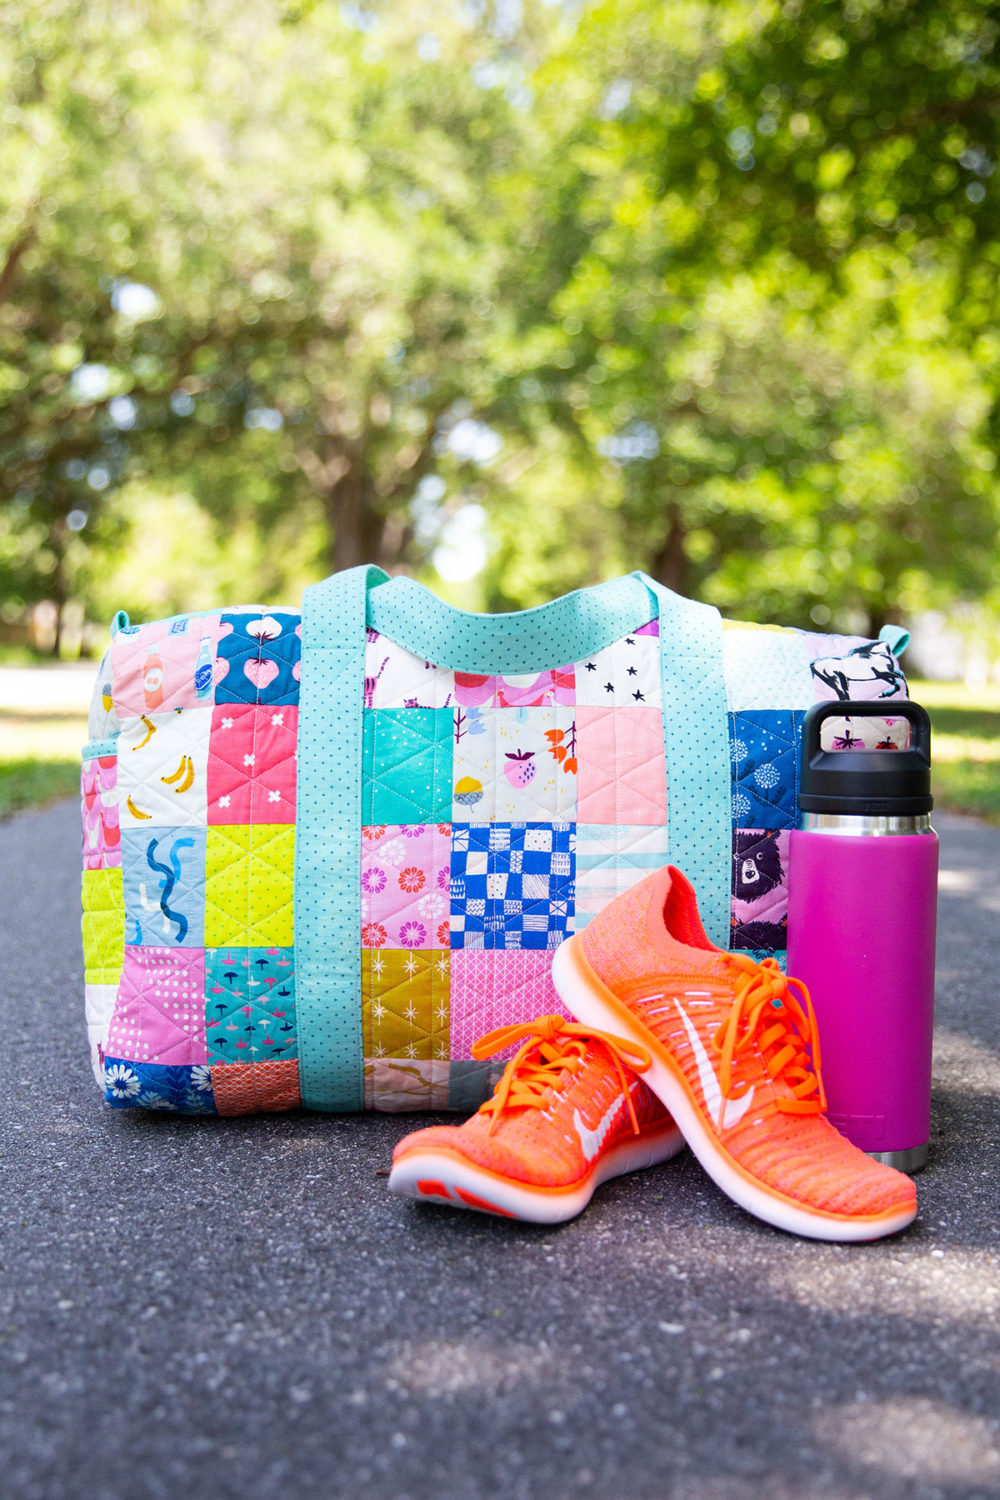
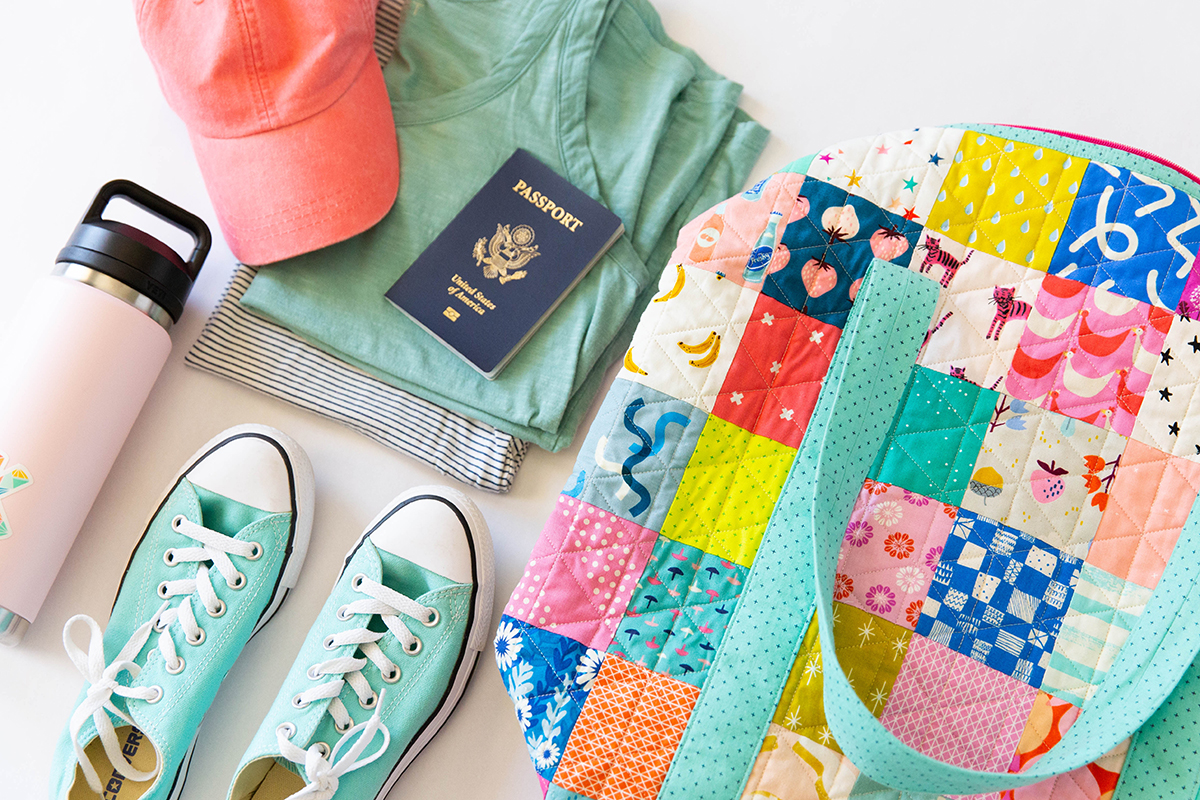
Introducing the Patchwork Duffle bag pattern! This has been such an incredibly fun project to work on and create. I love when a patten just comes together and when I just can’t wait to make 30 of them. I have currently made 5 versions so far and can’t wait to share them all.
The pattern is written to use 3.5” scraps of fabric to achieve the most darling patchwork bag. Or if you want a quicker make, just use one exterior fabric.
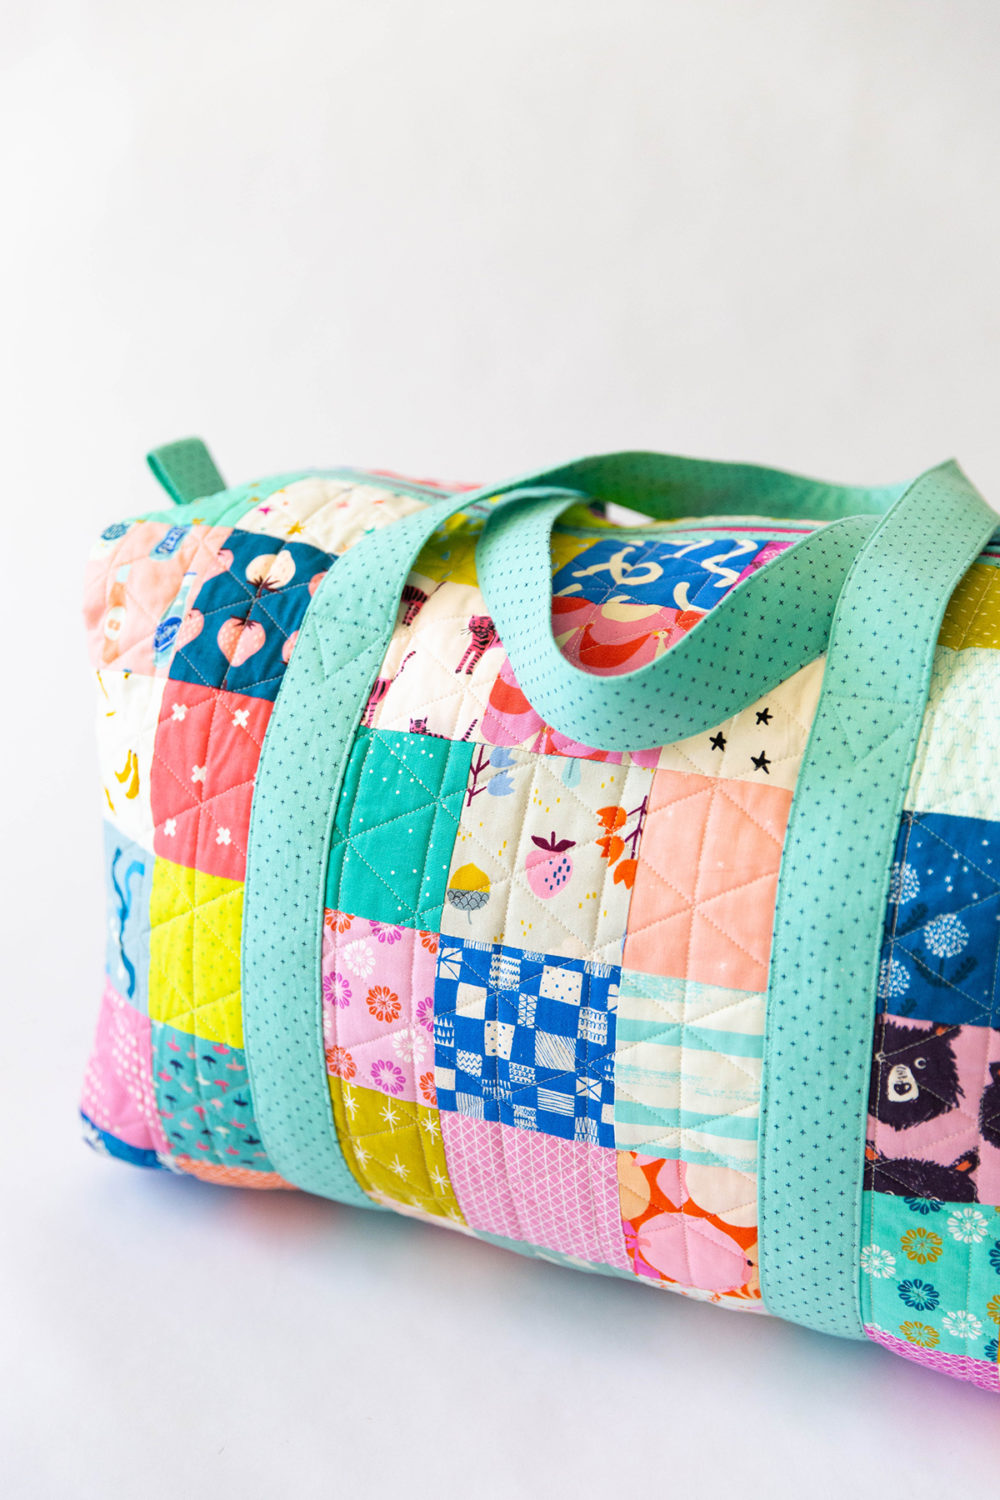
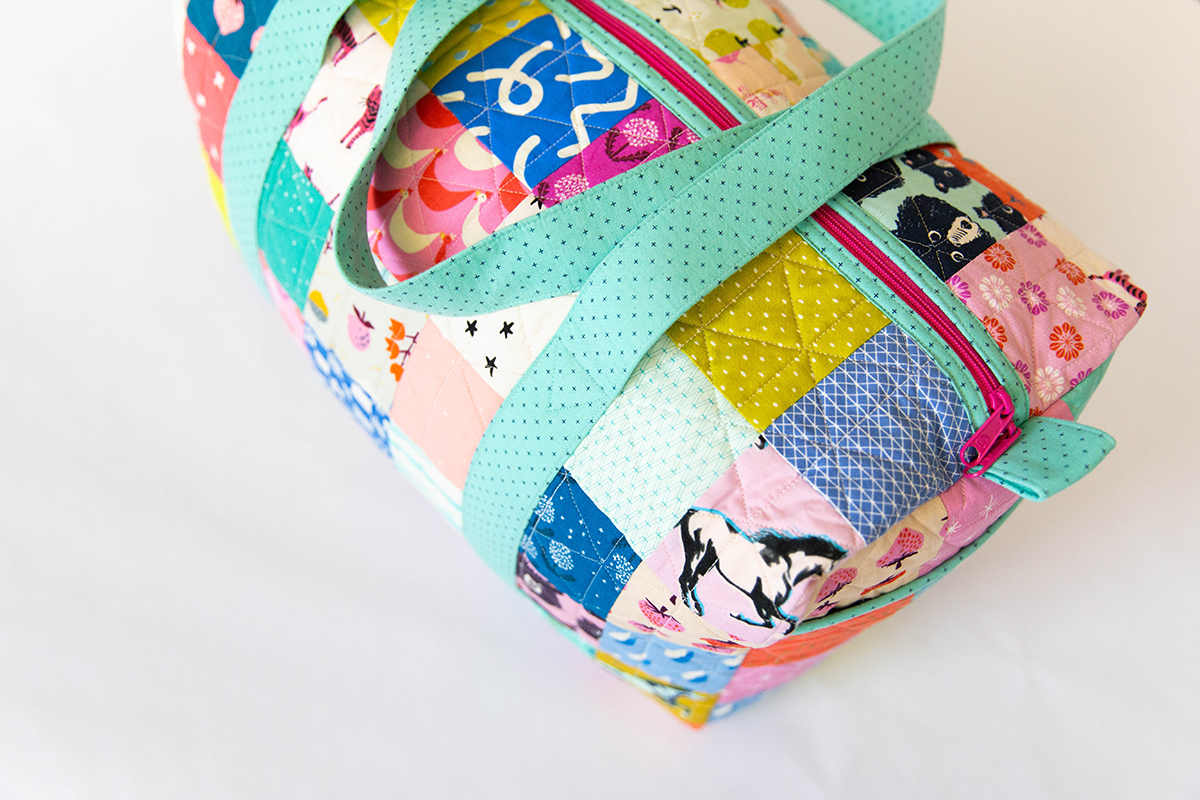
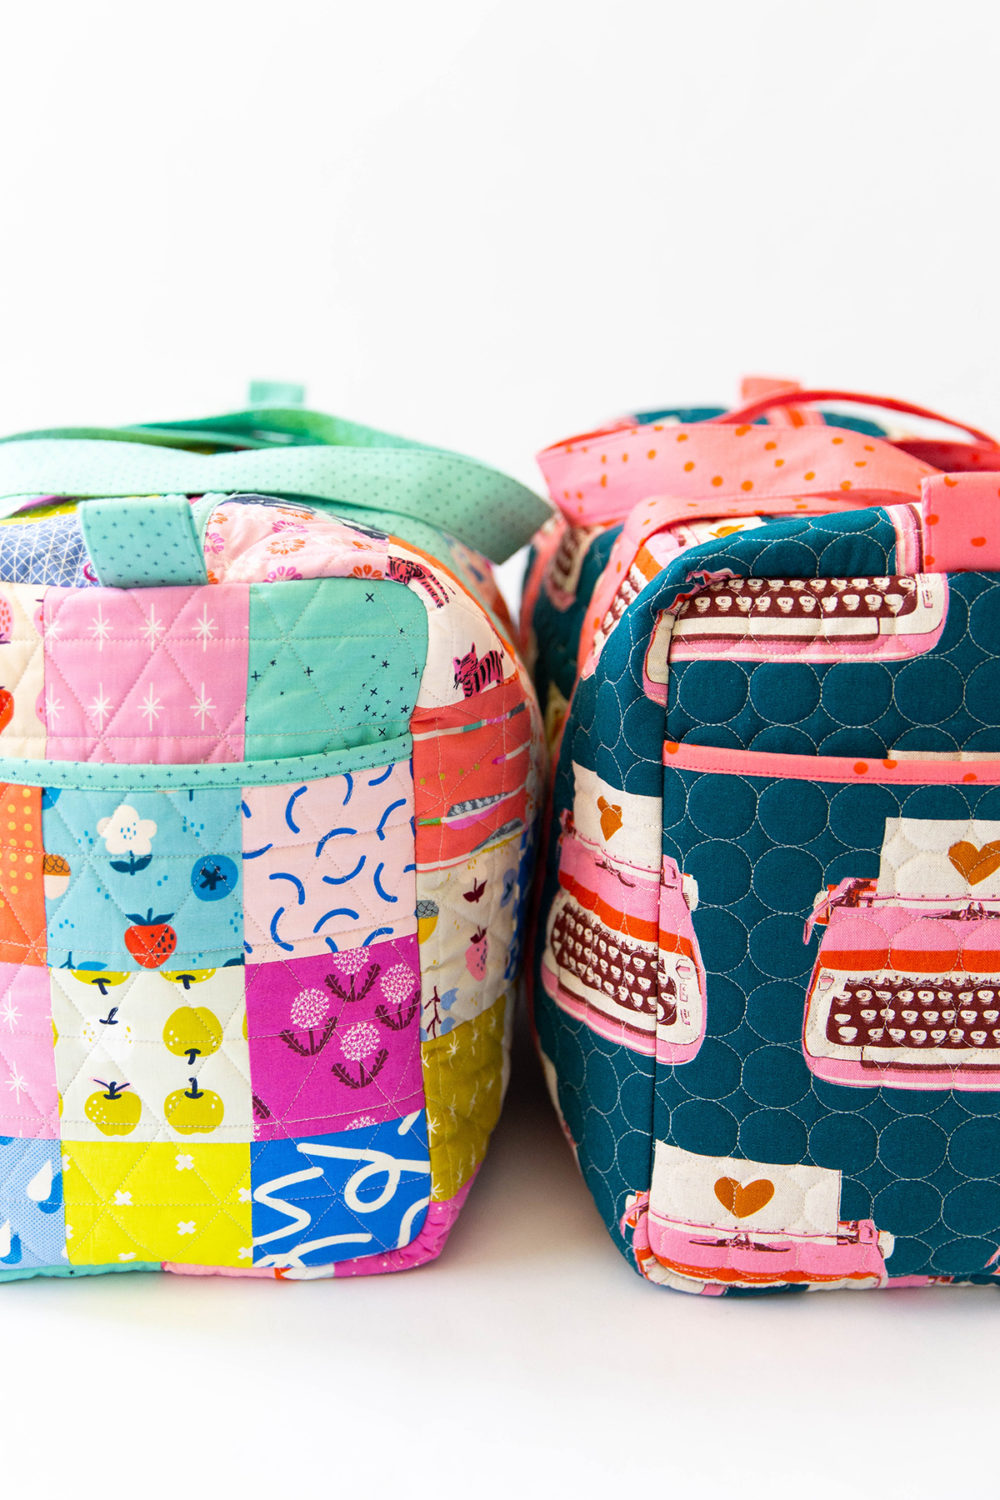
The bag has two exterior pockets and only uses 1 zipper. I wanted to create a project that would be easy for a beginner bag maker, without a lot of expense into hardware.
I created two Youtube Videos to help in the two spots that might be new or challenging for a beginning bag maker. Check out those videos below:
For your bag interfacing, you can use either Soft and Stable or your favorite batting. I personally like Soft and Stable a bit better because I like the structure that it provides. However, batting is a great option because the end result is floppy and compact. Both are great options.
I quilted both of these bags on my long-arm to make the quilting process quicker for me. I would love to quilt bag panels for you too! I stock Soft and Stable on the roll and also offer 4 options for batting so you can get exactly what you’d like. Check out my quilting submission form below.
If you need any of the supplies to make this bag, I stock a variety of zipper options on my website, along with strapping you can use for your handles. If you want the easy option, just pick your zipper color and strapping with this finishing kit today!
I’m super excited to see how you use your very own Patchwork Duffle! Be sure to share under the #patchworkduffle hashtag and tag me on Instagram @knotandthread.
Also a special thanks to my amazing friend and photographer for this project Kristen. She is amazing and I’m so grateful for all these lovely photos.
Grab a Paper copy here or a PDF version here.
Last thing I wanted to share is that coming very soon I’ll be posting a hack on how you can add a carrying strap to your Patchwork Duffle Bag. So stay tuned!!
Hello! I love this pattern, I’m mid way through making it and so excited to have a fun and unique weekend bag! So far, things are coming together easily – I’m a quilter by trade, so this is a little elaborate for me 🙂 For the section about attaching pockets to the end panels, you suggest to sew the pockets on first, and THEN to round the corners. Is there a reason for this? Once I cut into the sewing, do I need to re-sew the bottom corners together? Just curious why I shouldn’t round corners first so I don’t need to sew corners twice. Thanks so much for your help, love the pattern!!
It is definitely helpful to resew the bottom of the cut corners after sewing. You can cut the curves before or after whichever you prefer. Glad you are enjoying the pattern!
And just one more question, sorry! What width of strapping did you use?!
The pattern calls for 1.5” strapping. 🙂
Can you tell me where I can find the pins you used in the tutorial video?
They are called Magic pins. The pink headed pins are the extra long ones. They have a few other styles as well and are heat resistant! I’ve loved them.