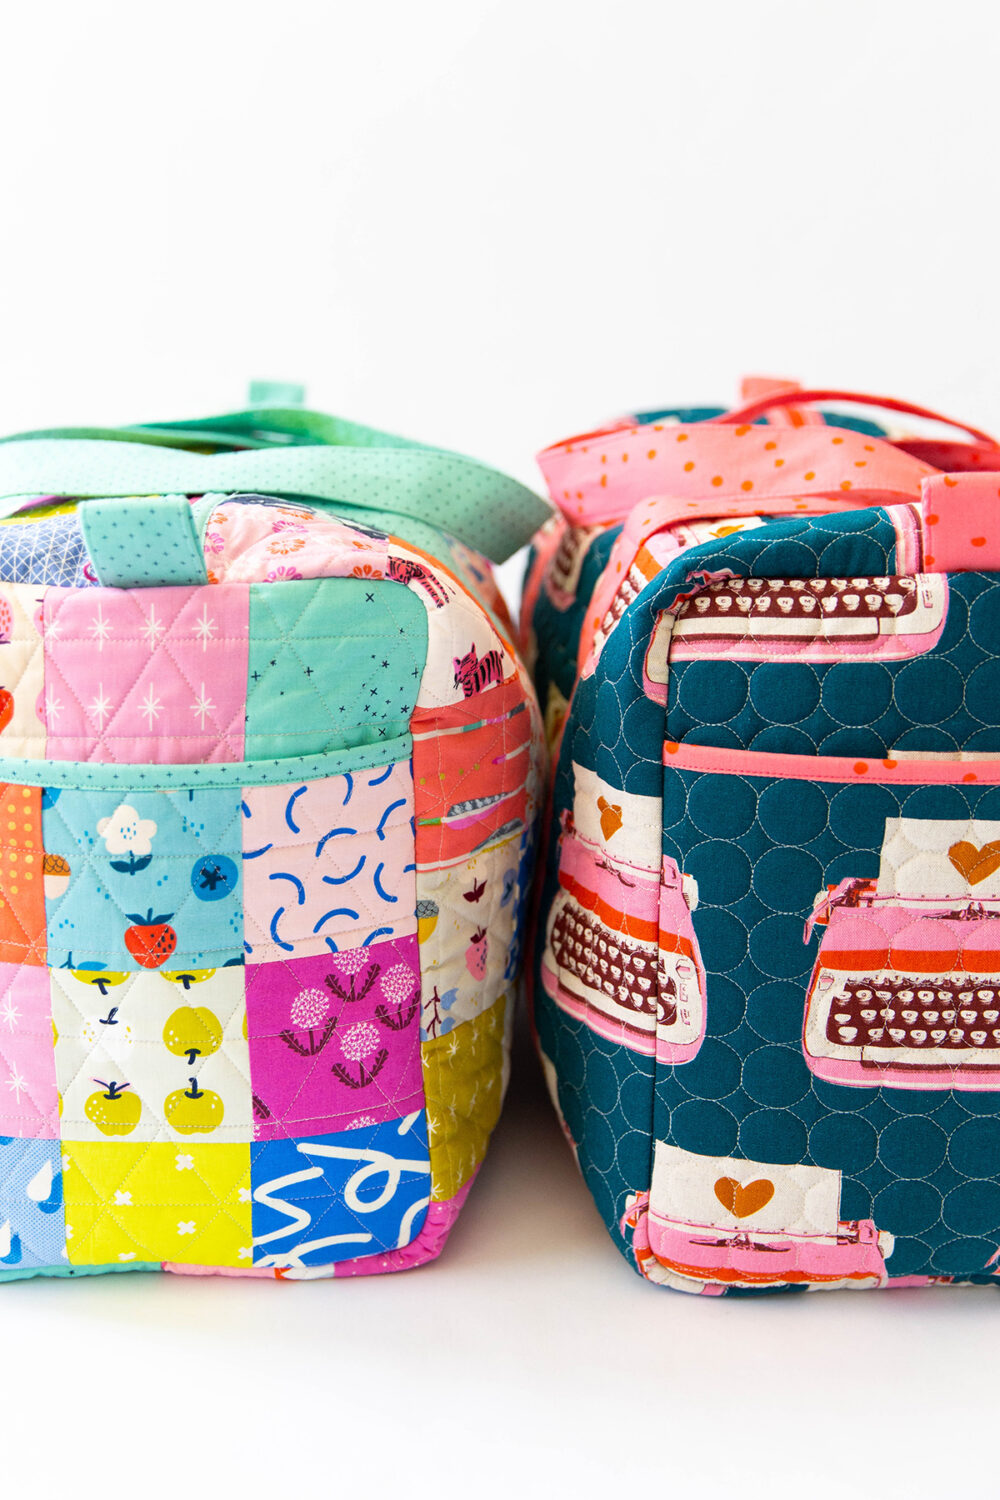
This week is all things quilting and cutting. I’ll be sharing some quilting and cutting tips with you this week. Quilting the bag panels can take a bit of time so just be patient and enjoy the meditative hum of your sewing machine.
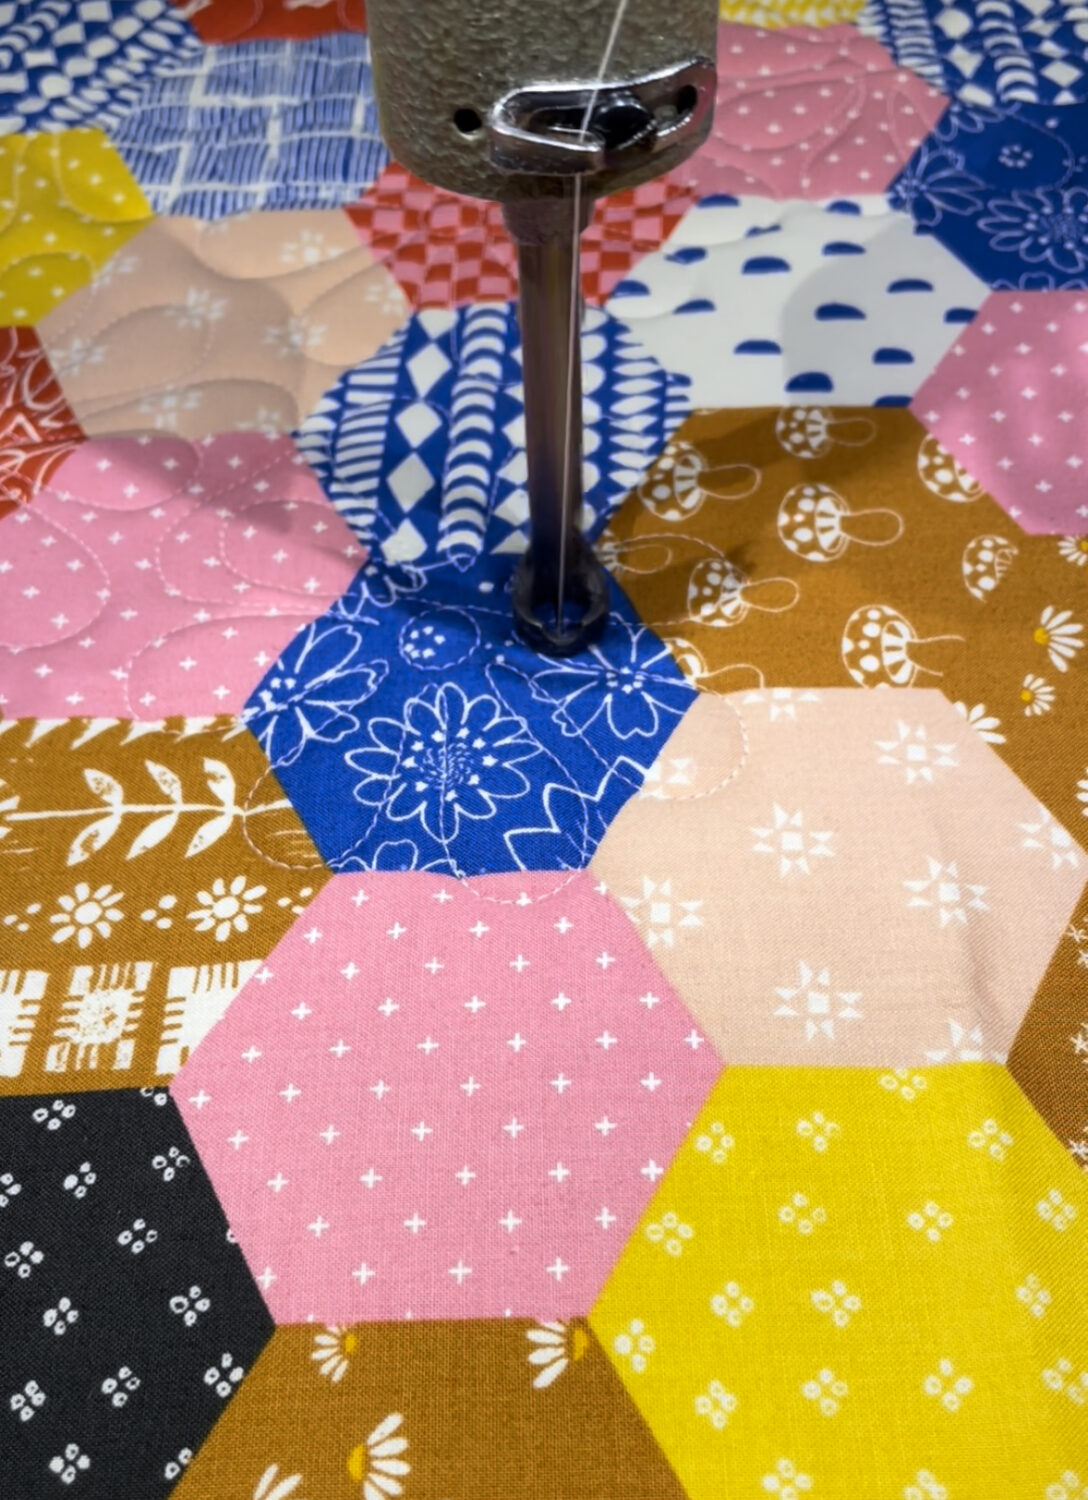
QUILTING ON YOUR DOMESTIC MACHINE
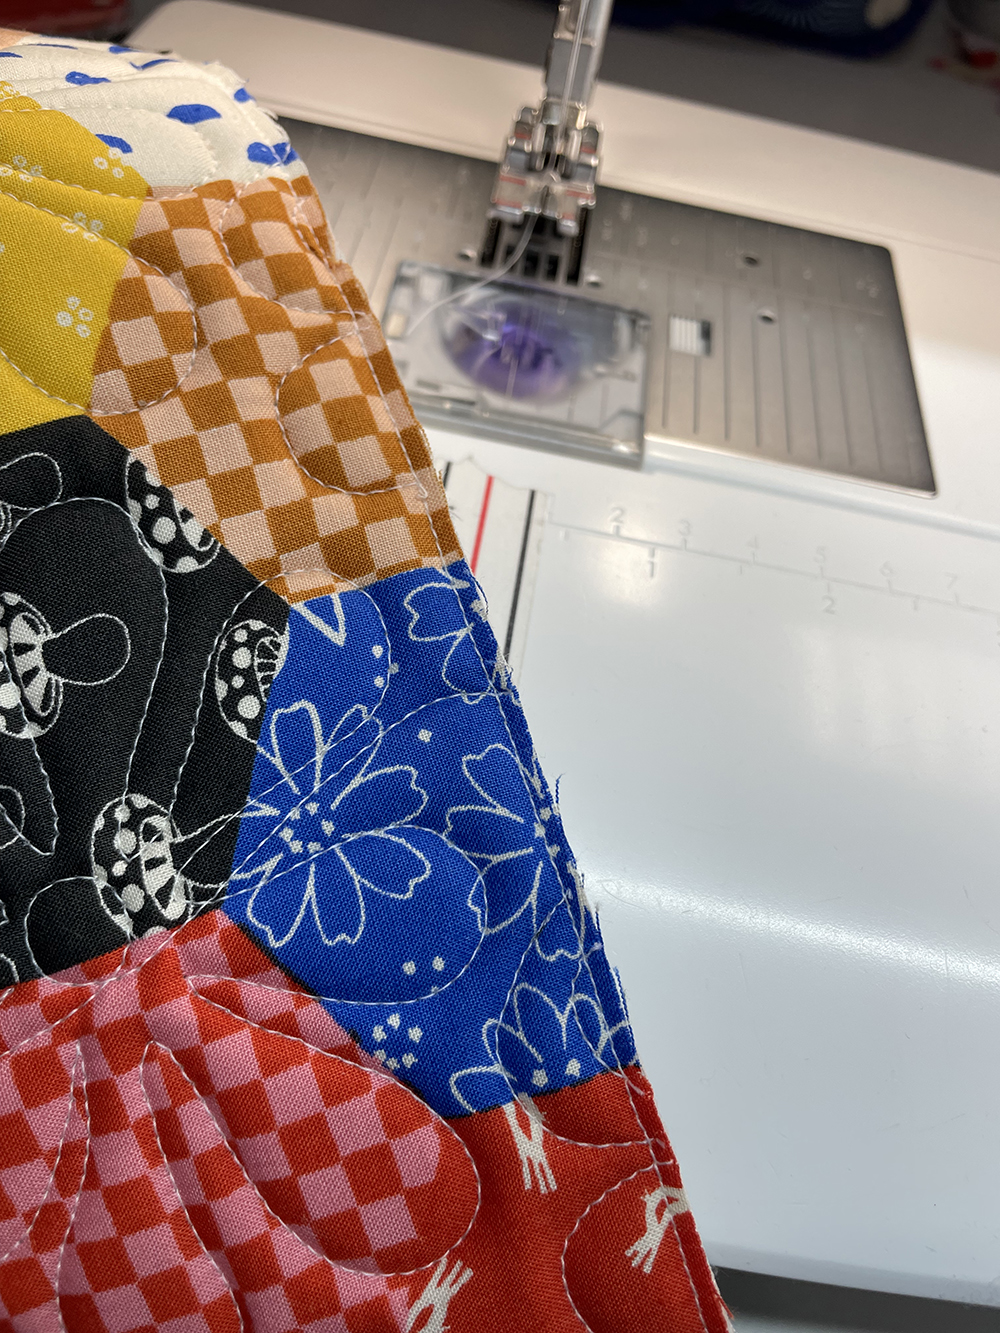
There are different tools and ways to mark and quilt your panels. If you have a favorite method (pin basting, spray basting etc.) use it! Here is a YouTube video I made sharing about how I like to quilt Soft and Stable. The same rules would apply if you are using batting for your bag as well. Also stay tuned on IG as I quilt my panels during the week in real time. Quilting smaller pieces can make the process a little easier than quilting up an entire yard of fabric on your machine. If you are using one solid fabric for your bag try cutting out the Bag Body, End panels and Pocket out an inch bigger than the dimensions and make your quilt sanwhiches. Having extra is helpful if the panel shrinks up during quilting. Trim and square it each piece.
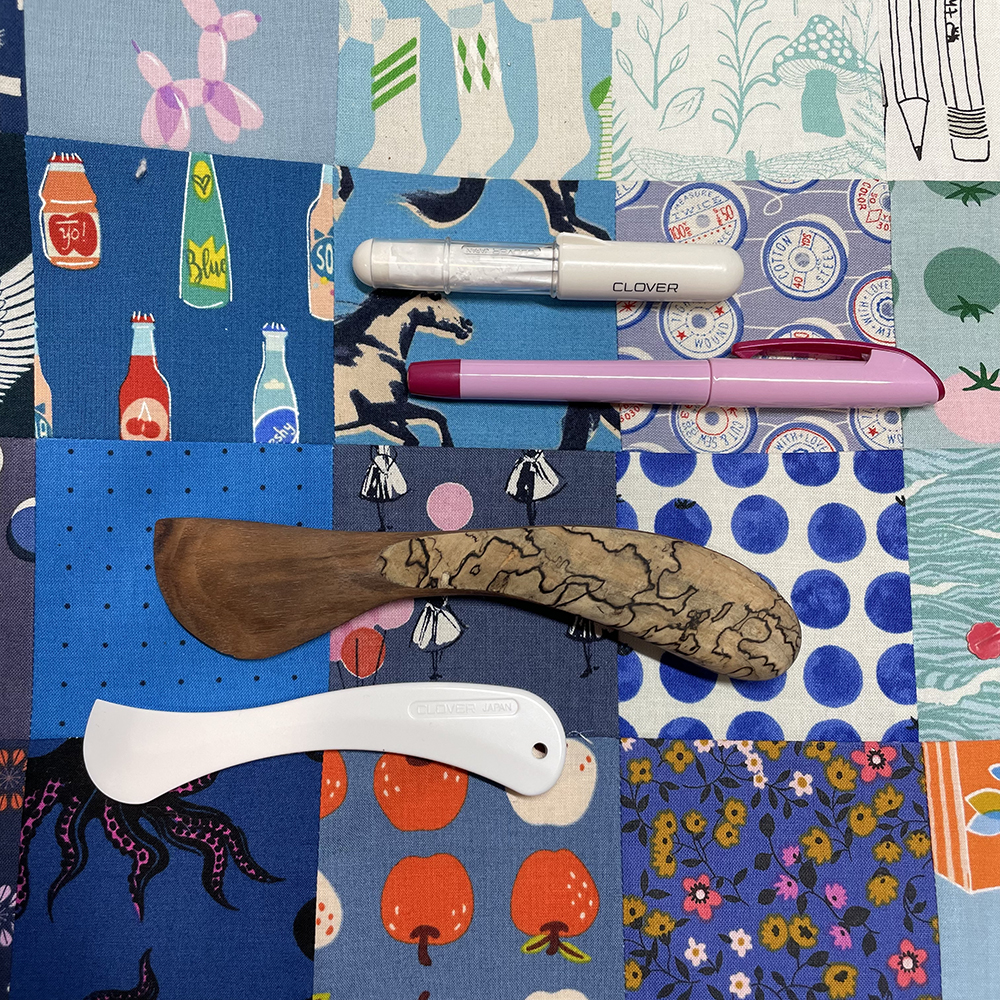
These are some of my favorite marking tools for quilting. Hera marker, Clover chalk pen, and Sewline’s Air Erasable pen.
| LONG-ARM QUILTING |
If you decide quilting the panels on your sewing machine isn’t for you… send your fabric off to be quilted by your favorite long-arm quilter. Be sure to check their minimum pricing and extra backing fabric requirements. I have found sending ¼ yard more lining than the main fabric yardage you plan to have quilted will give them the extra need for loading. To maximize the minimum, charge I offer for quilting you would need to send in 1.5 yards of fabric. Having extra yardage can be fun to make extra little matching bags. My favorite thing about longamring is all the amazing designs. I would love to quilt your fabric if you need. I even carry Soft and Stable on the roll. Here’s my quilting submission form.
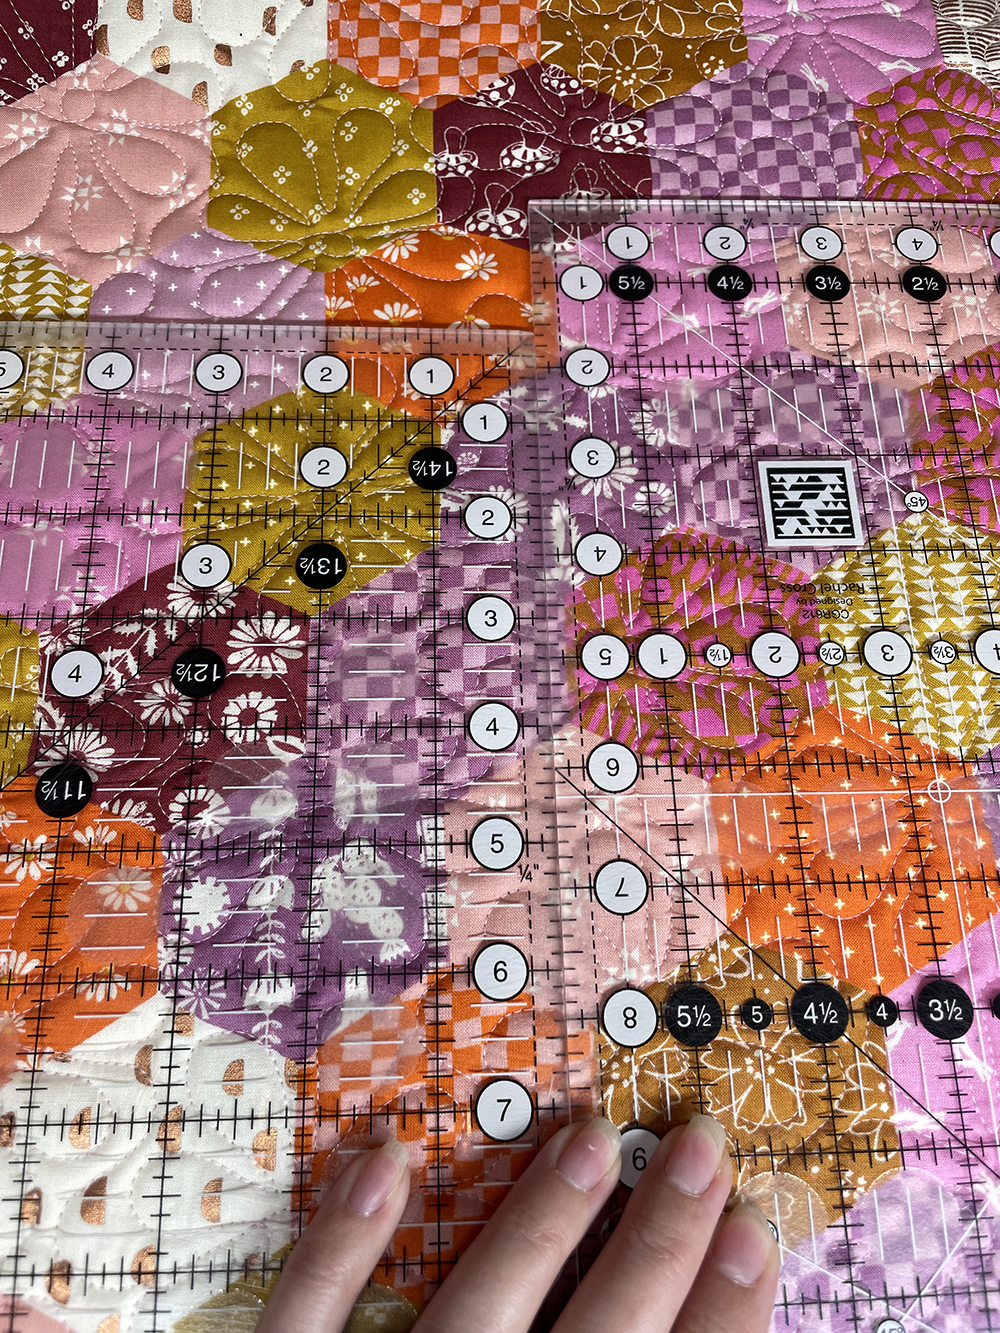
TIPS FOR CUTTING LARGE PANELS
One of the first thing I learned when I first started working at a quilt shop was to cut measurements of my ruler and not off my cutting mat.This will be helpful when cutting out your bag pieces. You can use multiple rulers when cutting the Bag Body. Just butt them up next to each other to reach the size needed.
DON’T FORGET TO LOCK YOUR STITCHES
Some people skip the step to stitch around the bag pieces. DON’T! This is such an important step in making your bag. Stitching an 1/8” around the edges of the quilted panels keeps your quilted stitches from coming apart as well as compresses the seam where you will join multiple pieces together and make it easier to bind your bag.
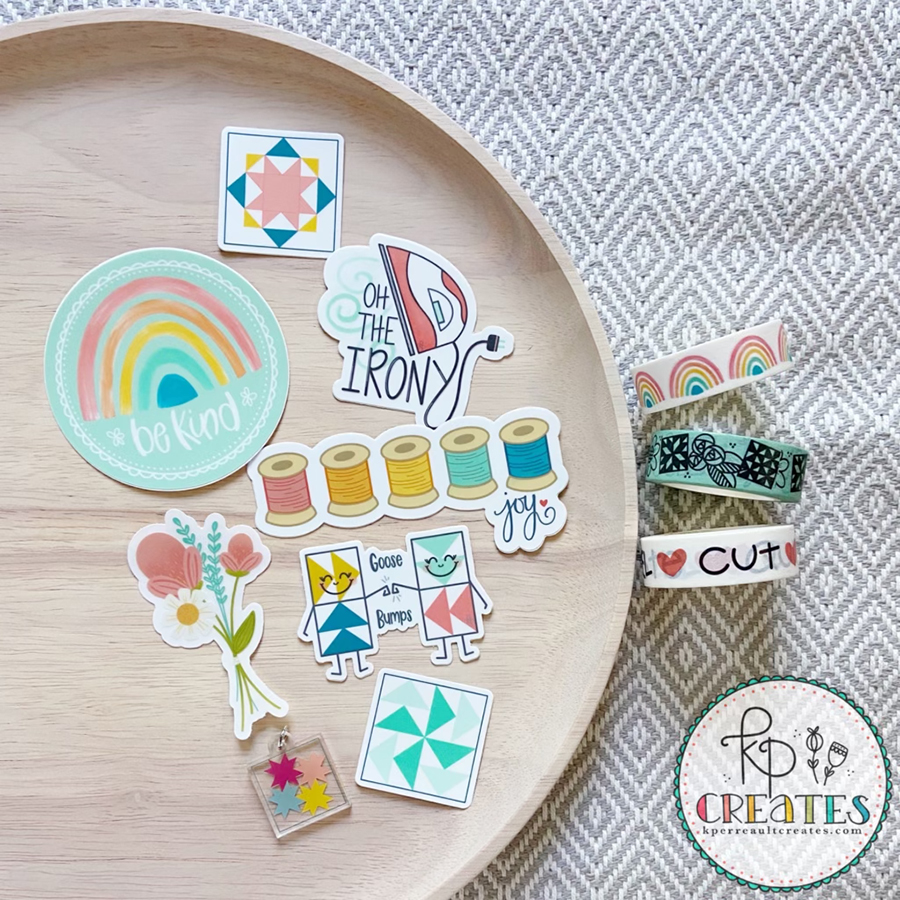
And now for this weeks Sponsors!! So grateful to Kristen of KPcreates sharing her darling stickers, Washi tape and acrylic keychain. And Liza form Liza Taylor Handmade for a $30 gifrcard to her shop where she has darling fabric bundles kits and patterns! Be sure to check out their shops for more amazing products.

THANK YOU ALL for being here and making bags with me!
Kait