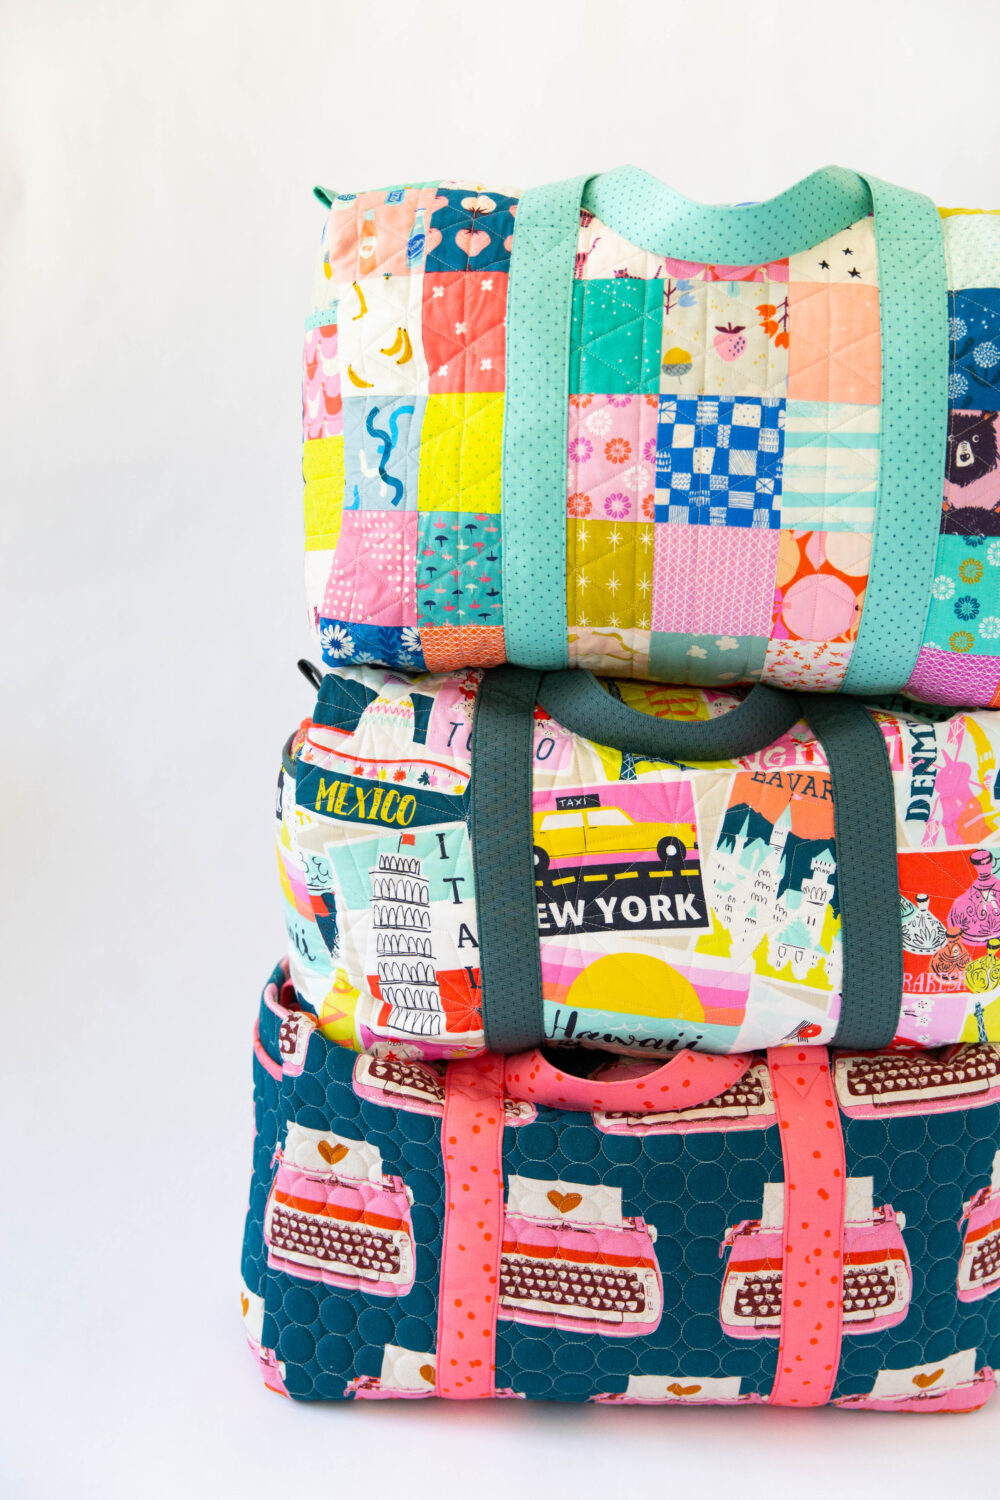
This may be the week you are looking forward to the most! This week’s steps include Zipper installation and Bias Binding. You might be a little nervous if you’ve never done these steps, but don’t you worry! I’ve got some great tips for you.
ZIPPER INSTALLATION
This method of zipper installation is very slick. Especially if you are using a handbag zipper (extra wide zipper tape and nice big pulls). Check out this YouTube video for step-by-step instructions. If you don’t have a zipper yet, these are my favorite. Having a 30” zipper is helpful for installation even though we will be trimming off the excess and will only use 21” of the zipper.
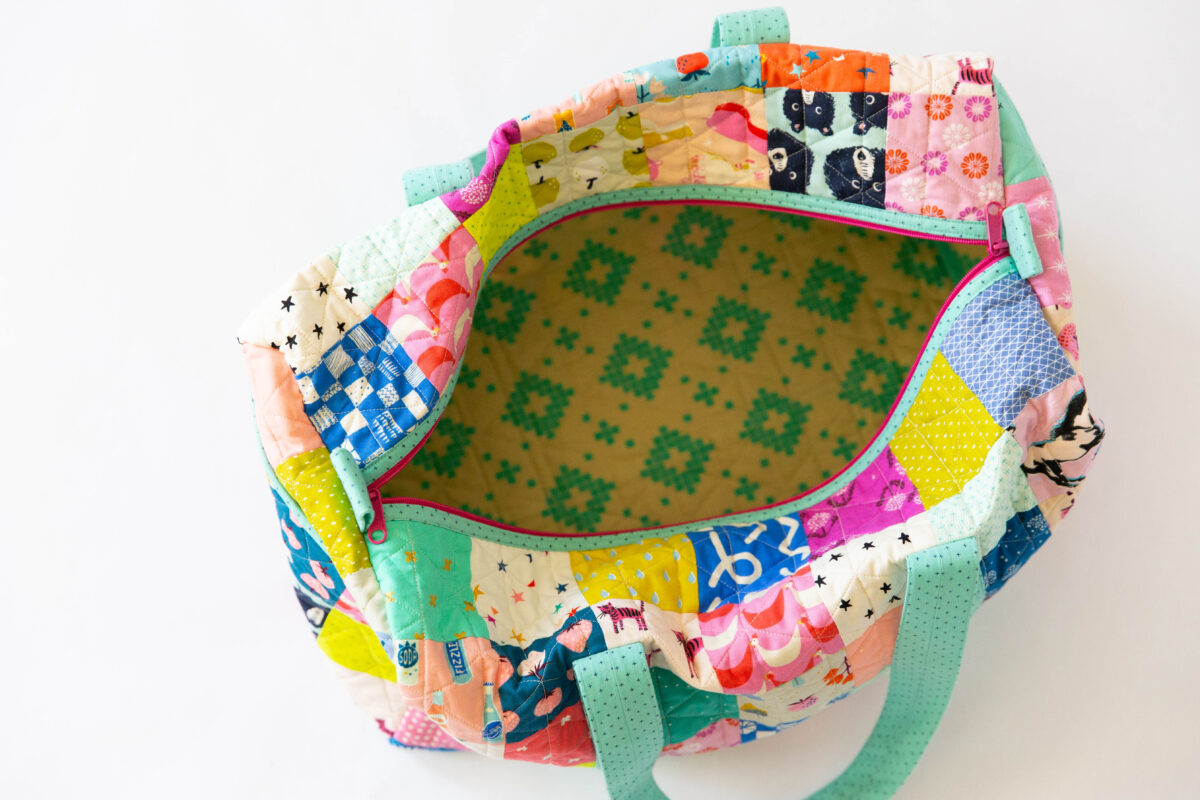
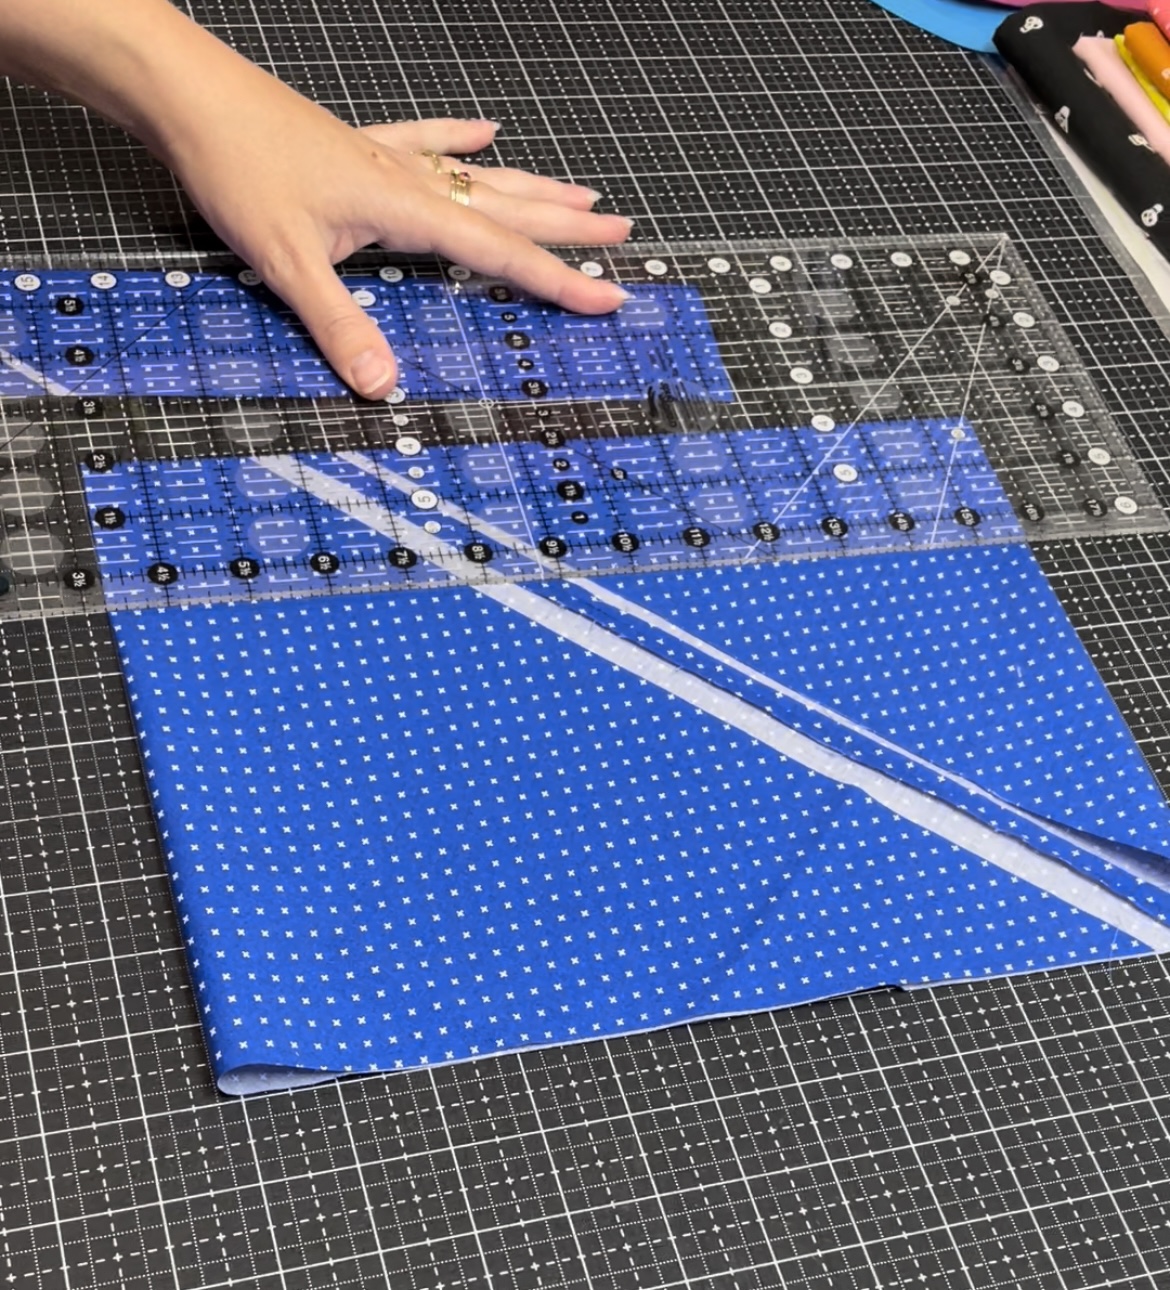
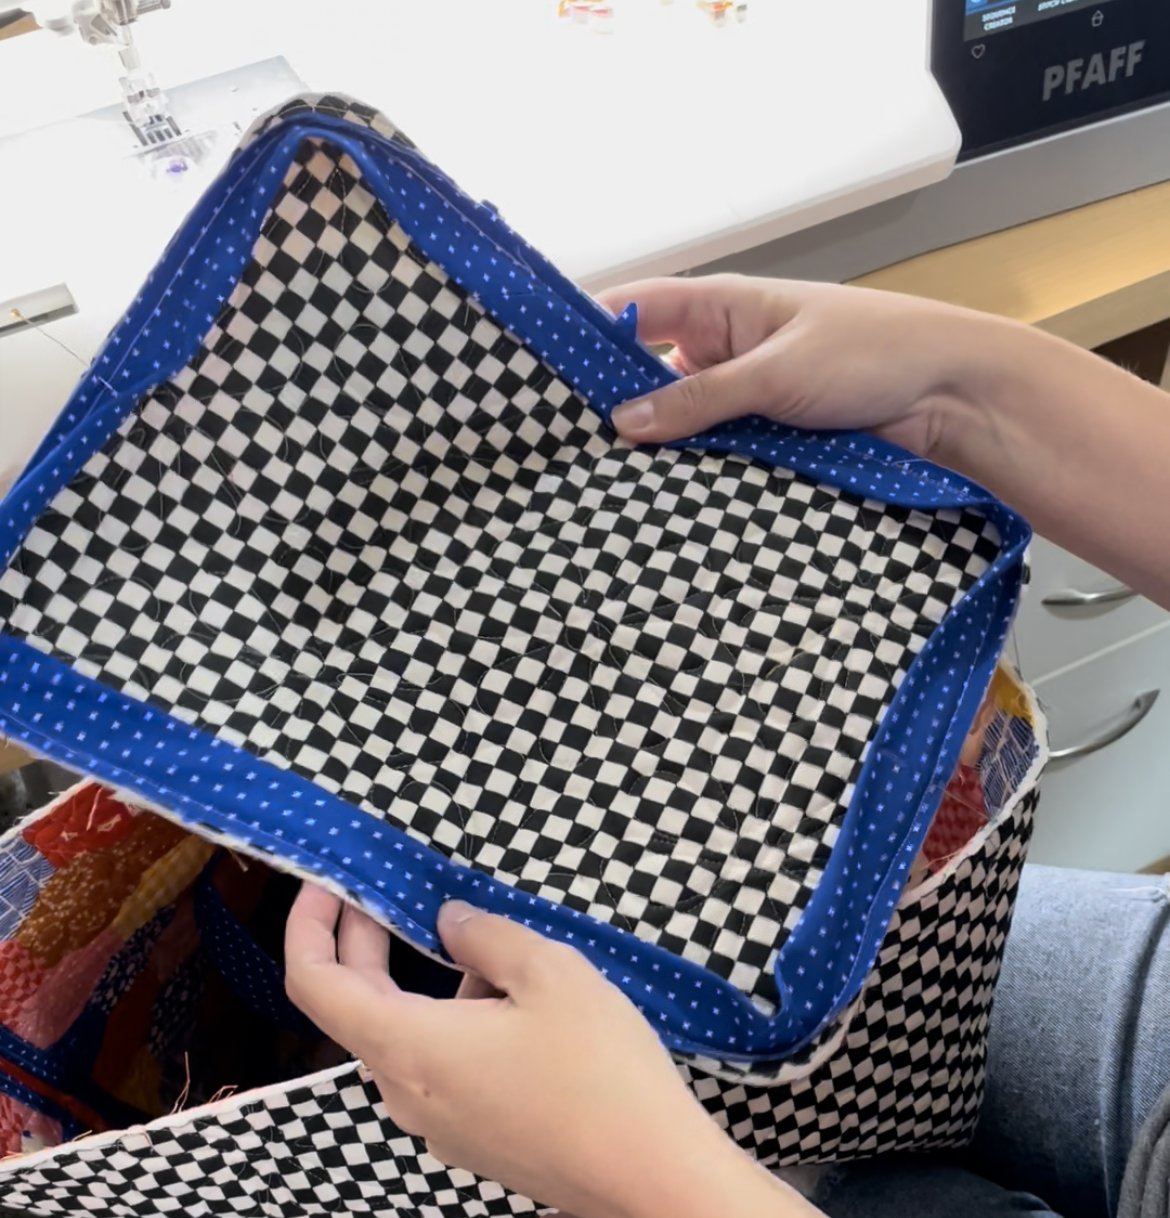
MAKING BIAS BINDING
Making Bias out of a square if my favorite way—less waste and very easy. Follow the diagrams in the pattern to make your binding! I usually prefer a 2¼” binding for this process, but if you are a new bag maker, make your binding according to the pattern at a 2½” width. This should be plenty of binding width if you are making sure you are sewing an accurate ¼” seam.
ATTACHING THE BIAS BINDING
I made another video to show you step-by-step how to attach your binding. This has been my trusty method for years.
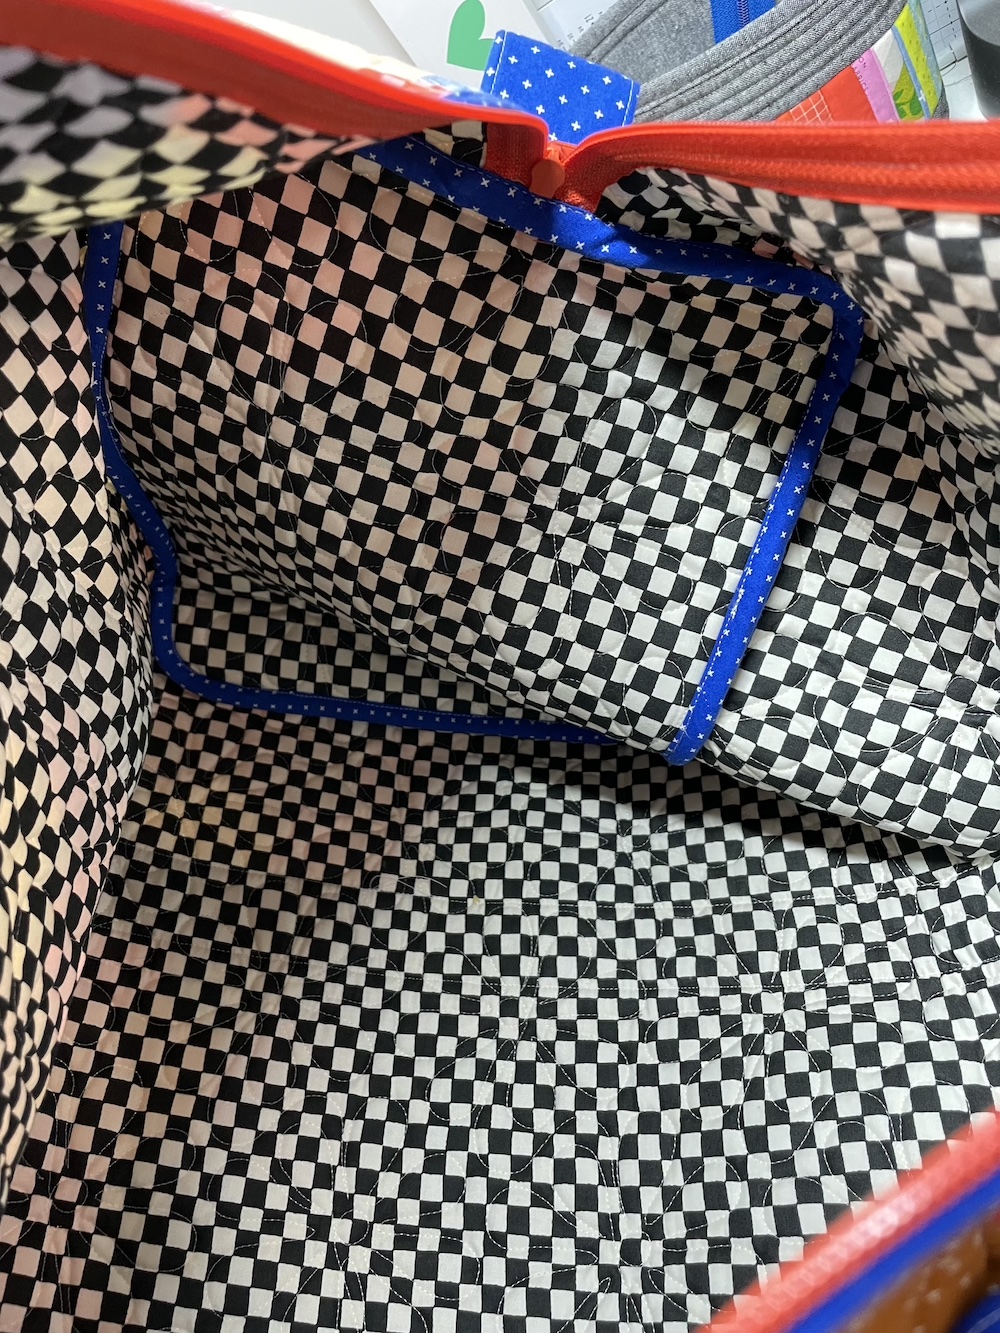
| ALTERNATIVE METHOD FOR ATTACHING BIAS BINDING |
I tried out another method to share my experience with you, in case the other method is not working for you. Shelly from @matantequiling introduced me to this method. Feel free to give it a try.
The tip is to attach the Bias Binding to the LINING side of the End Panel before attaching it to the bag. Easy as that. This will make it easier to get an accurate ¼” seam and give you a stitching line to follow when attaching the panel to the bag.
Sewing an accurate ¼” seam during this step will be important to be able to have enough binding to wrap around the seam. If you have too much bulk in your seam feel free to trim out a bit of the bulk before stitching down your binding. Let me know how you like this method if you decide to try it out!
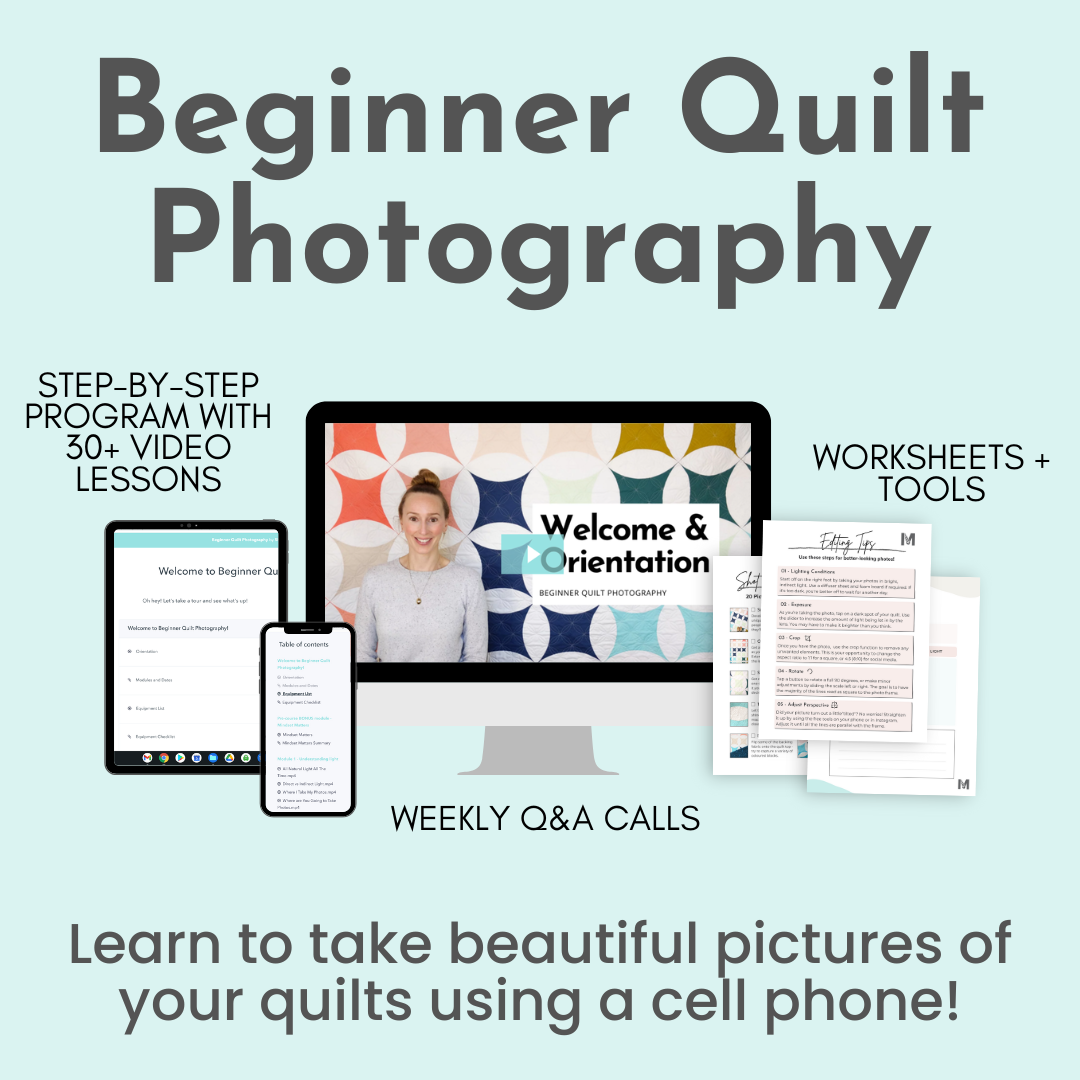
If you want to learn to more great tips from Shelly, you are in luck. She has a great Beginner Quilt Photography course coming up. Get on the waitlist now. There will be an amazing webinar to share more about the course before you buy. Register for that here.
THIS WEEK’S SPONSORS
Finally the fun part—our final giveaway prize(s) (did you see that prizes plural?!). I will be picking 2 winners for the final week: one person who made a patchwork version of the Patchwork Duffle and one who made a solid fabric version. Be sure to post your finished bag to the #patchworkdufflesewalong hashtag to be entered this week’s prizes.
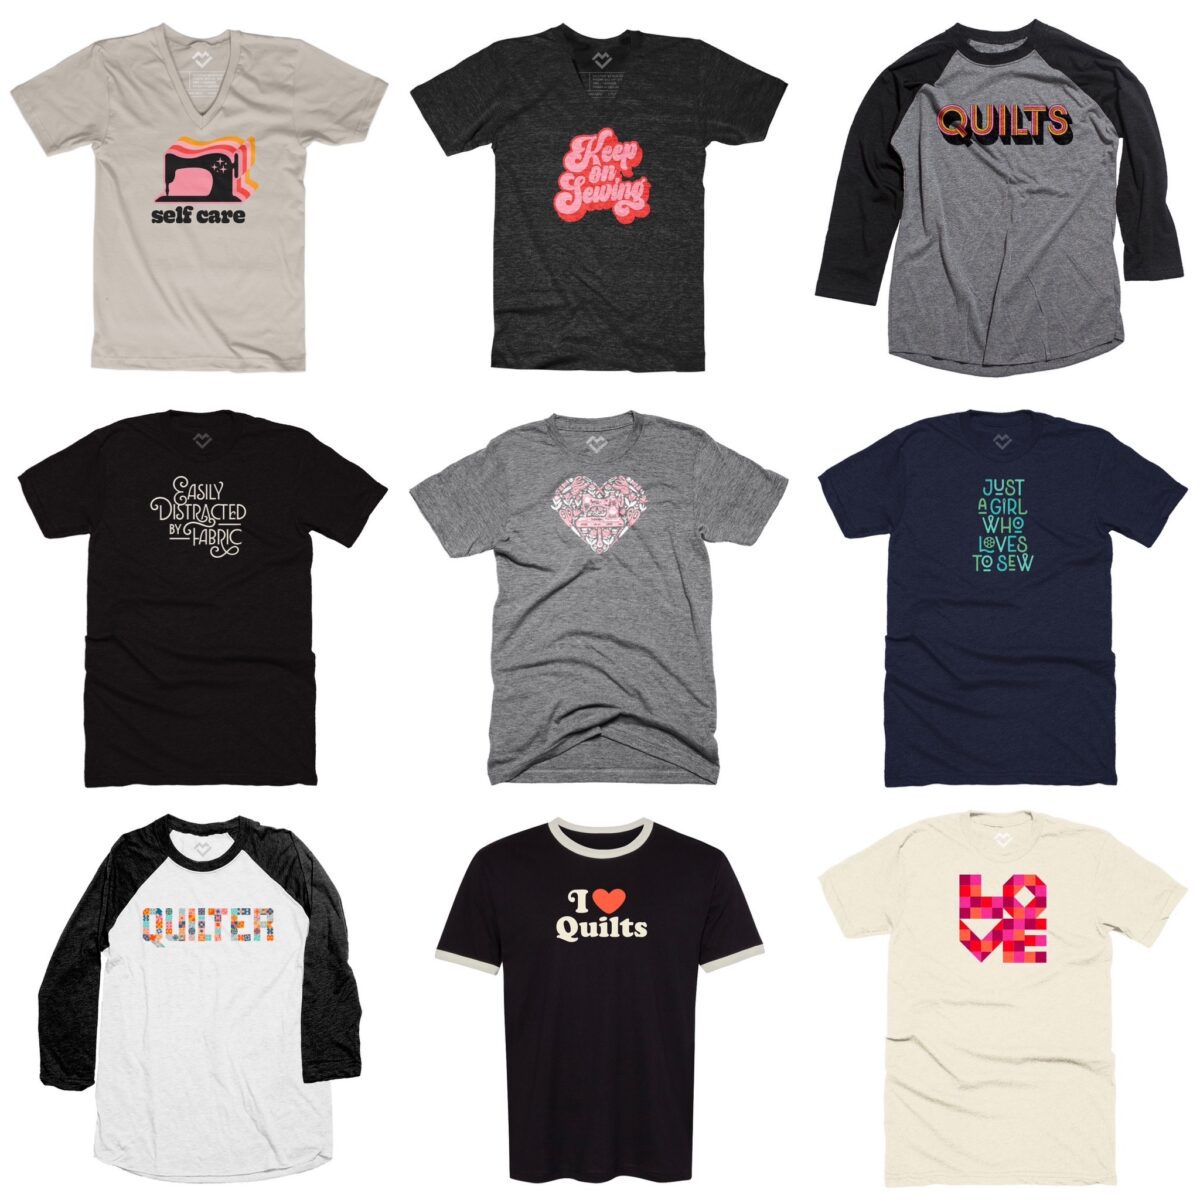
MAKER VALLEY
1st up is Holly from Maker Valley who is giving away a T-shirt to both winners! If you haven’t been a customer of Maker Valley you will want to be. They offer some of the best sewing/quilting apparel around. As well as fabric kits, stickers, pins, and other goodies. Check out her shop here.

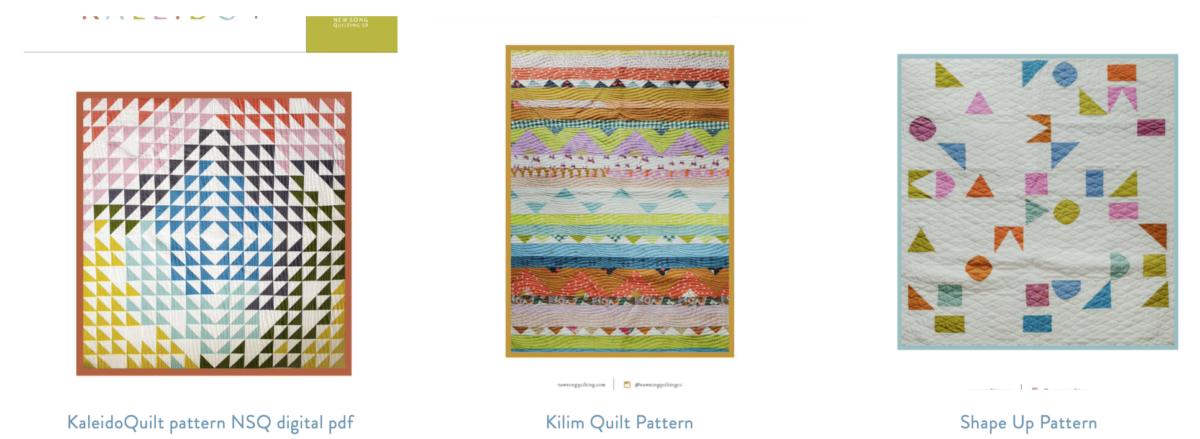
NEW SONG QUILTING CO
Next we have Laura from New Song Quilting Co., who will be offering a PDF Pattern of your choice from her pattern library. Laura has impeccable taste and you will love following along her improv quilting style.

RUBY STAR SOCIETY
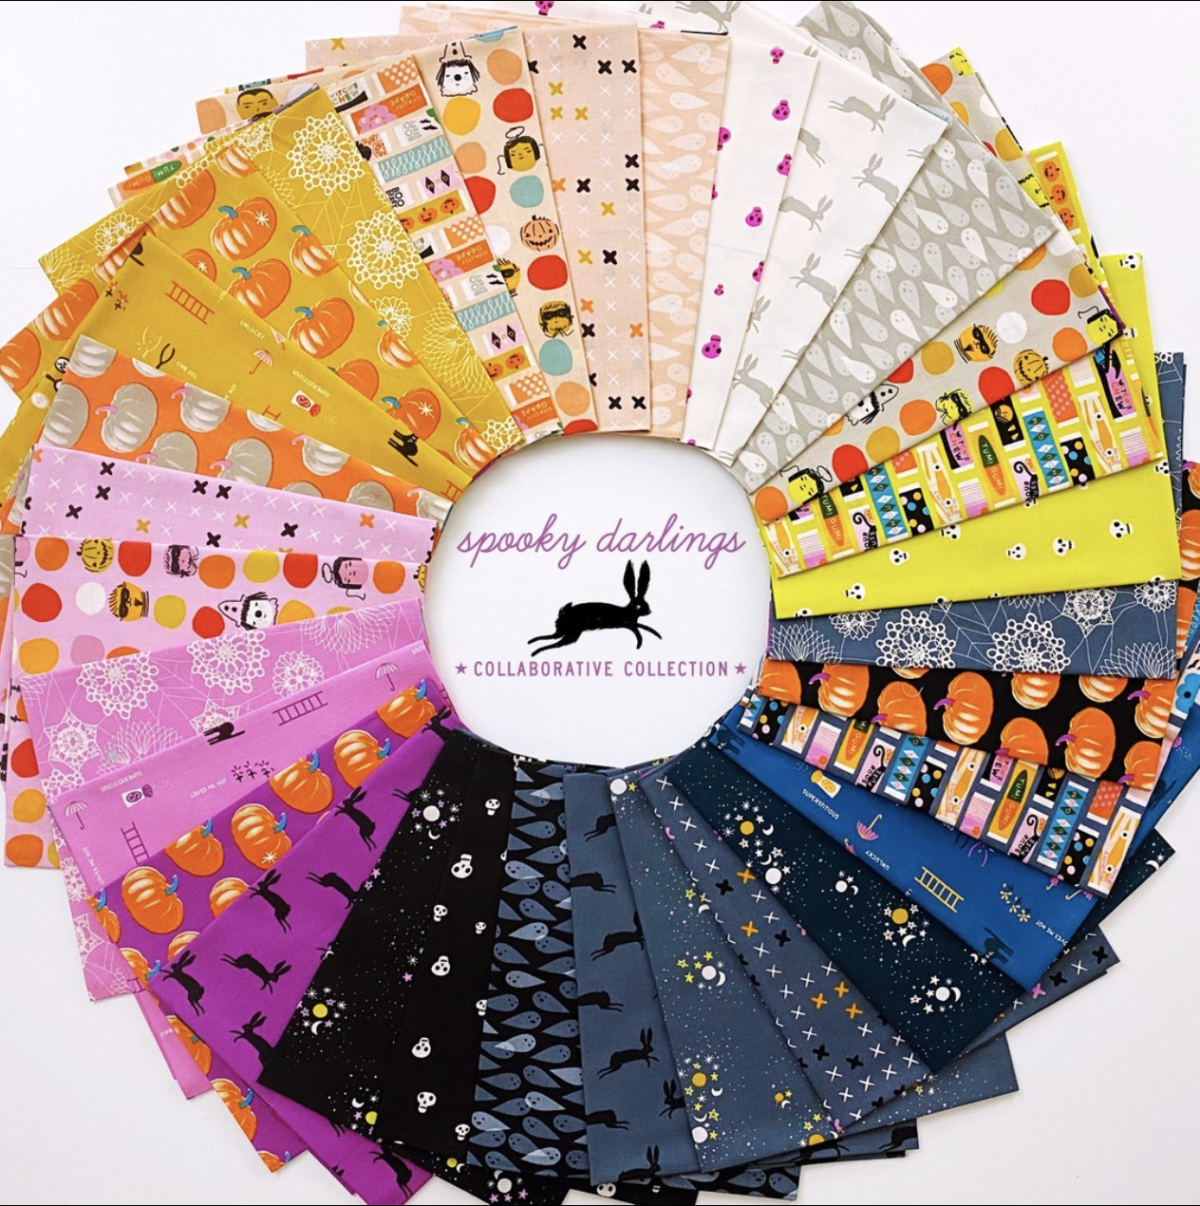
Last, but certainly not least, we have some fabric for you from the one and only Ruby Star Society. I have two 1/8th bundles of the new Spooky Darlings Fabric just in time for Halloween! I have been a long-time fan of these talented designers, and I’m so grateful for their support of this sew-along!

THANK YOU ALL FOR SEWING ALONG. Love our amazing Patchwork duffle bag community!!
Kait